Beginners’ Guide to Pattern Making in Garments
A pattern is the quietest cost center in apparel. A first sample comes back from the factory two centimeters off at the bust, the production manager re-flags the tech pack, the fabric cutter waits, and the buy slips a week. Almost every fit issue, grading error, and bulk rework I have seen on a go-live traces back to either the pattern itself or the version of the pattern that made it to the cutting room. Pattern making is where design becomes manufacturable, and where a brand quietly decides whether its next drop is profitable.
This guide is written for designers and small production teams who are learning the craft, and for operators who need to understand how patterns connect to the rest of the apparel stack: tech packs, sampling, grading, cut tickets, and inventory.
What is pattern making in garments?
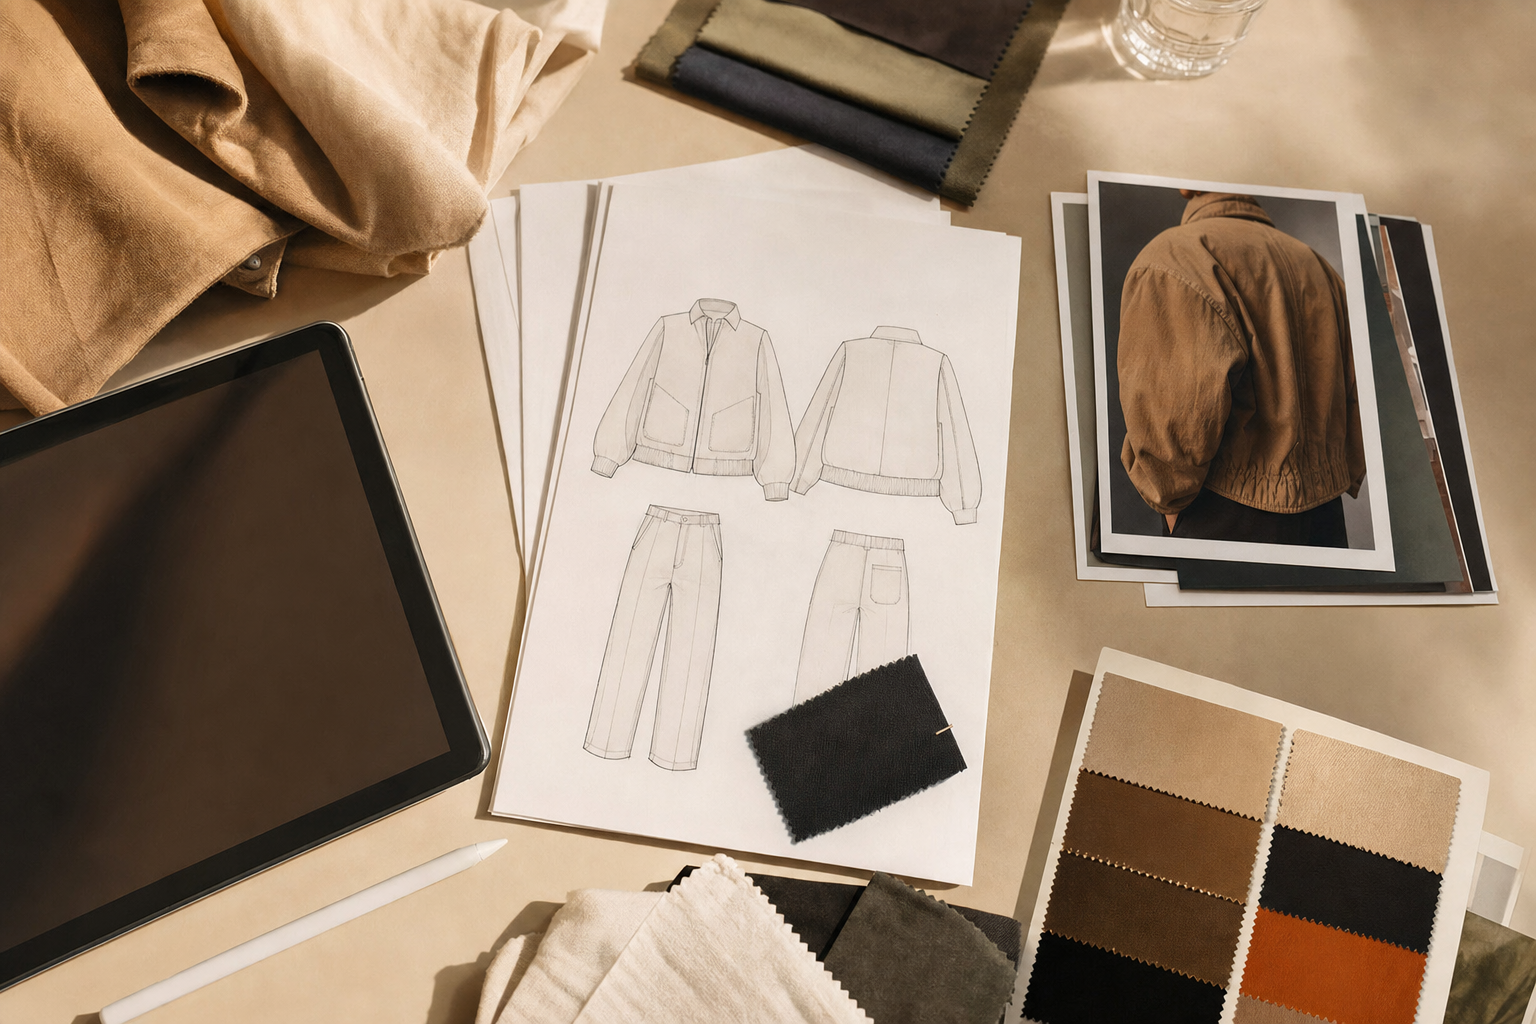
Pattern making is the art and discipline of creating a template, on paper or in CAD software, that is used to trace, cut, and assemble fabric into a wearable garment. A pattern is a flat representation of a three-dimensional body. Every seam, dart, notch, and grainline on the paper corresponds to a decision the sewer will make later. Pattern making is the same activity as pattern drafting, and the terms patternmaking, pattern-making, and pattern making are used interchangeably in this guide.
Put more practically: pattern making translates a design idea into a set of physical or digital pieces that, when cut from fabric and sewn together, produce the garment the designer drew. Basic patterns, called slopers or blocks, are the foundation of almost every design. Many beginners start from a commercial pattern and adjust it for fit, while others draft their own block from body measurements.
The core value of a pattern is repeatability. Once you have a pattern that works, you can produce the same garment fifty times or fifty thousand times. That is what separates a one-off sample from a sellable style.
Why does pattern drafting matter for a fashion brand?
Pattern drafting is not only for replication. People draft patterns for several distinct reasons, and each one has a downstream operational consequence.
It controls fit
A pattern is the first place where you see how a garment will sit on the wearer. Fit decisions made on paper, or in a CAD file, drive cutting accuracy and seam alignment in the sewing room. If the pattern is wrong, the fit will be wrong on every unit in the buy.
It enforces consistency
Using the same block across a collection produces silhouettes that feel coherent. It also gives the warehouse, the QC team, and the customer a consistent size experience. Inconsistent grading across styles is one of the most common drivers of return rates above 10 percent on DTC channels.
It speeds up sampling and production
Mastering pattern making lets a brand prototype faster and reduce the number of sample rounds. Each sample round costs fabric, freight, factory time, and at least one week of calendar. From the go-lives I have run this year, the pattern is consistent: brands that invest in clean blocks early cut their sampling cycle by roughly a third.
It creates a competitive edge
Unique fit and unique silhouette are difficult to copy because they live inside the pattern, not on the surface of the garment. Brands with a recognizable pattern library, think of a denim brand with a signature seat curve, build defensibility into their product.
What is a basic pattern block?
Basic pattern blocks, sometimes called slopers, are the foundation of pattern making. A block is a simple, close-fitting shape that represents the core structure of a garment without seam allowance, design details, or embellishment. Blocks are drafted to fit a specific set of body measurements, and they serve as the starting point for every style that follows.
The four blocks that almost every womenswear or unisex line begins with are:
- The bodice block, which is the foundation for tops, dresses, and jackets.
- The sleeve block, which is the template for every sleeve variant from a fitted long sleeve to a balloon.
- The skirt block, which is the foundation for skirts at any length.
- The pant block, which is used to draft trousers and pants.
From these four blocks, you can develop almost any garment by adapting style lines, manipulating darts, adding fullness, and changing length. Drafting your own block starts with accurate body measurements taken with a tape measure. You then use pattern paper, a pencil, a ruler, and a calculator to plot the block. Many designers use metric pattern cutting techniques, because the math is cleaner and the increments transfer well to grading. Once you have a block, you can practice dart rotation and dart manipulation against it before committing to a finished pattern.
What tools does a beginner pattern maker need?
Like every craft, pattern making depends on a small set of physical and digital tools.
Pattern paper
Pattern paper is the most fundamental tool in the kit. Your choice of paper depends on what you are doing with it.
Artist tracing paper is used to trace an existing pattern, for example one you printed from a downloaded file. It is cheap and good for iteration, but it is soft and tears easily.
Dot paper is the standard pattern making paper. It carries a printed dotted grid that makes drafting and squaring easier. It is durable enough for slash-and-spread techniques, erases cleanly, and is wide enough for full-size patterns. It is more expensive than tracing paper and usually only sold online or at specialty suppliers.
Brown kraft paper is a thicker, brownish paper used widely in industry for working patterns. It is sturdy and inexpensive, though less precise than dot paper because it does not carry a grid.
Oak tag, also called tagboard, is a heavy brown paper used to cut slopers and master blocks. Because it is rigid, you can trace against it repeatedly without the edge deforming. It is durable and long-lasting, but it is the most expensive of the four.
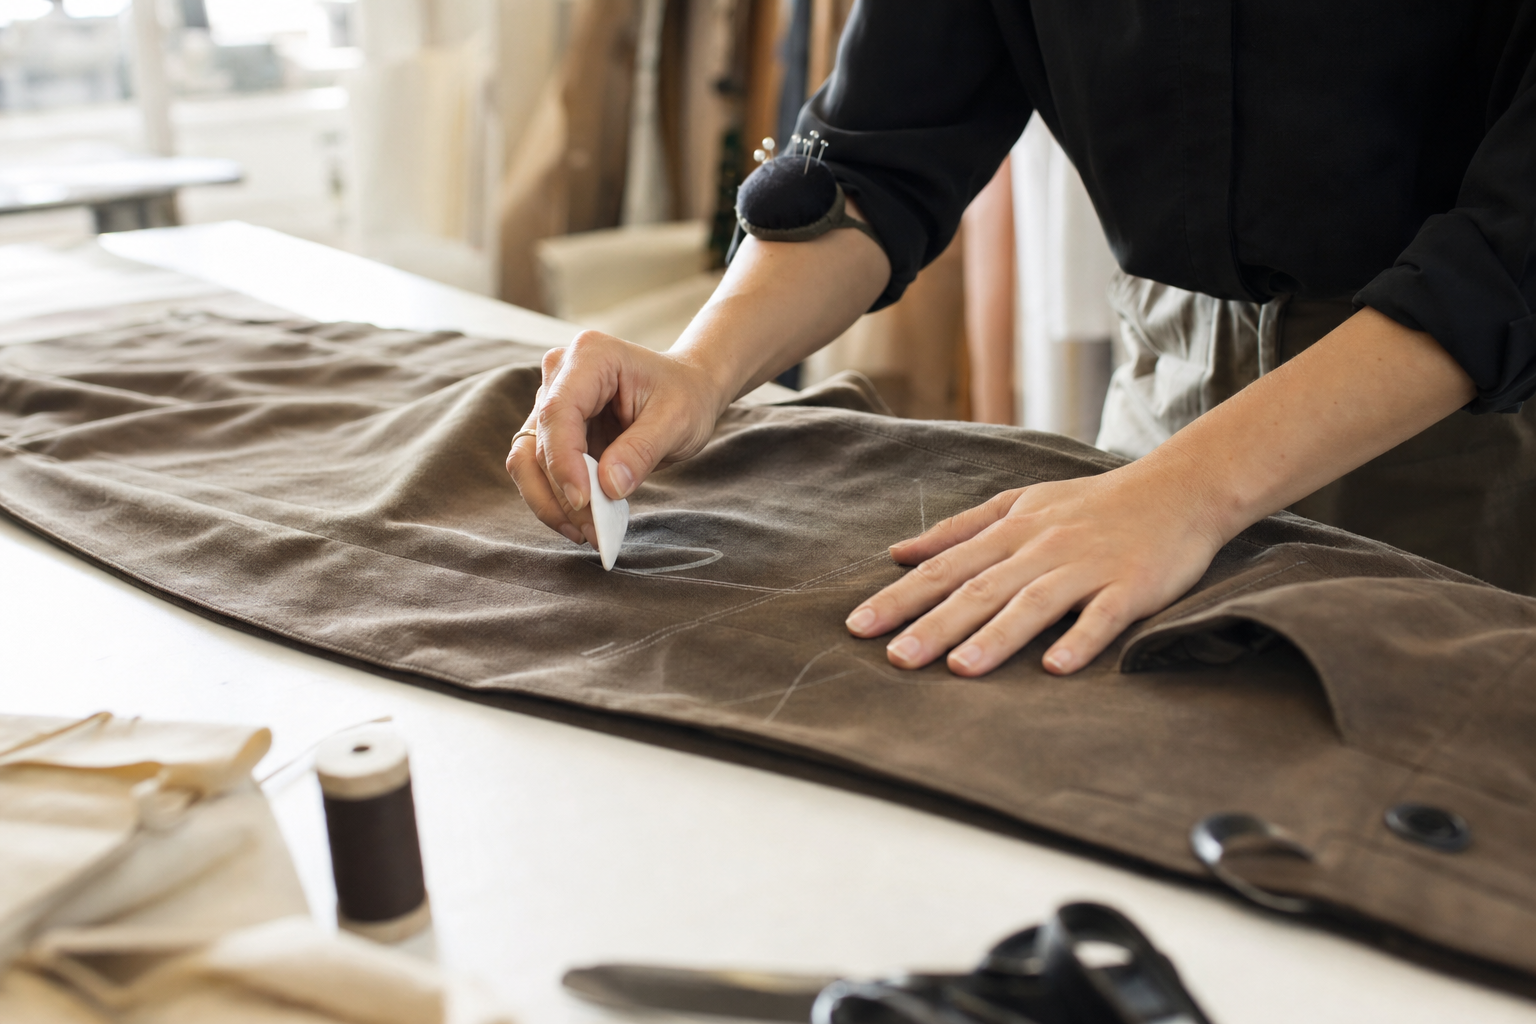
Pattern notcher
A pattern notcher is a small handheld punch used to cut precise notches at the edge of a pattern. Notches tell the sewer where pieces line up, where darts begin, and where ease is distributed. Without notches, a sewer is guessing.
Rulers and curves
The drafting set usually includes a straight ruler, a hip curve, an L-square, and a French curve. Each one has a job. The hip curve shapes side seams and skirt curves. The French curve shapes armholes and necklines. The L-square keeps your right angles honest.
Tracing wheel, awl, and tape measure
A tracing wheel transfers marks from paper to fabric or from one piece of paper to another. An awl marks dart points and pocket placements. A tape measure handles the body measurements that the block is built from.
CAD software
Digital pattern makers use CAD packages such as Gerber AccuMark, Optitex, Browzwear, or CLO 3D. CAD shortens grading, nesting, and marker making, and it gives you a clean file you can hand to a factory. The block lives as a digital master, not a piece of paper that can be lost.
What are the three types of pattern making?
There are three main approaches a brand uses to develop patterns, and most teams use a mix of all three.
Flat pattern making is drafting on paper from body measurements, using basic blocks as the starting point. It is the dominant method in industry because it is fast, precise, and easy to grade.
Draping is the practice of manipulating fabric directly on a dress form to develop shape. Couture houses and many evening wear designers prefer draping because it produces a more sculpted, body-aware result. The draped muslin is then transferred to paper as a flat pattern.
Digital pattern making is drafting and editing patterns inside CAD software. It is the fastest path for brands running multiple factories or multiple size ranges, and it is the only sensible path if you plan to grade across XS to 4X.
How do you adjust patterns for different fabrics?
Fabric is not neutral. The same pattern in a stiff cotton drill behaves differently from the same pattern in a four-way stretch jersey. A beginner mistake is to draft one pattern and assume it will work across every fabric in the line.
Stretchy knits usually require you to reduce the pattern slightly, because the fabric will recover and conform to the body. A 90 percent reduction factor is a common starting point for stable jerseys, with more reduction for heavier stretch. Stiff or thick fabrics require additional ease so the garment does not pull at the seams or feel constricting. Bias-cut garments need extra length, because the fabric drops on the bias once it hangs.
The practical rule: drape a swatch on the form before you finalize the pattern, and record the ease and reduction factor in the tech pack so the next pattern maker working on a similar fabric does not have to relearn it.
How do you adapt patterns for different styles?
Once the blocks are stable, almost all design work is adaptation. You add fullness with gathers or pleats, you create flared shapes by slashing and spreading, and you build detail through collars, cuffs, plackets, and pockets. The block stays. The variations come off it.
This is the part of pattern making that rewards experience. A designer who has drafted fifty bodices knows where to add a quarter inch of ease and where to remove it. A first-year designer does not, and that is fine. The work is to draft, sew the toile, fit it on a body, and adjust.
What is dart manipulation in pattern making?
Dart manipulation is the art of folding and stitching fabric to shape it around the body. Darts are most commonly placed around the waist and the bust on womenswear, but they appear in tailoring, shoulders, and back panels as well.
There are two main methods.
Slash and spread involves cutting the pattern along a planned line and spreading the pieces apart to add fullness, then taping the gap. This is how you turn a fitted bodice into a gathered or pleated one.
Pivoting involves anchoring the pattern at a single point with a pin and rotating the rest of the pattern to redistribute the dart. Pivoting does not require cutting the paper, which makes it cleaner and faster once you are confident with it.
Both techniques produce the same outcome in different ways. Most pattern makers use slash and spread for larger volume changes and pivoting for redistributing existing darts.
Where does pattern making sit in the apparel operations workflow?
The pattern is the artifact that connects design to production. It belongs in the tech pack, it is referenced by the cut ticket, and the graded version of it produces the size set that lands in the warehouse as finished SKUs. When the pattern is wrong or out of date, the consequences show up in the first breakpoint of the 6 Breakpoints of Apparel Operations, which is product data fragmenting across systems.
A pattern lives in at least four places: the pattern maker’s CAD file, the tech pack, the factory’s marker software, and the brand’s PLM record. If those four versions disagree, the factory will cut against whichever one they were emailed last. That is how a brand ends up with 800 units of a top with a sleeve cap two centimeters short. A good PLM workflow attaches the pattern file directly to the style record, with version control, so there is a single source of truth.
Grading is the next step downstream. A pattern is drafted at a base size, usually a medium or a size 8, and graded up and down across the size range using grade rules. Inconsistent grade rules across a collection produce the inconsistent sizing that drives returns.
What this means for an apparel operations team
For a brand doing $5M to $100M in apparel revenue, the pattern is not a creative artifact in isolation. It is a record that travels through PLM, production, inventory, and reporting. The teams that treat the pattern as an operational asset, version it, attach it to the style, link it to the cut ticket, and reference it in returns analysis, are the ones that hold gross margin steady across drops.
The practical implication is that pattern files belong inside the product data record, not in a shared drive or a designer’s laptop. Uphance treats the pattern, the tech pack, and the style record as one connected object, which closes the loop between the pattern maker, the production manager, and the warehouse team checking the finished unit against spec. That is what keeps the first breakpoint, product data fragmentation, from cascading into late cuts, weak inventory truth, and reactive reporting.
Mastering pattern making makes a designer better. Connecting the pattern to the rest of the operations stack makes the brand profitable.
Frequently asked questions
Where this fits in the Uphance platform
Ruchit writes about product strategy for apparel operations, covering how mid-market fashion brands use connected workflows to manage product development, inventory, orders, warehouse execution, and reporting. As Head of Product at Uphance, he shapes the roadmap that ties PLM, PIM, BOM management, allocation, fulfillment, and warehouse operations into one system. His articles dig into apparel-specific operational mechanics: tech packs, spec sheets, putaway, pick-pack, landed cost, and the data plumbing that makes inventory truth possible across multiple channels and locations. He focuses on the workflow-level questions that separate generic ERPs from systems built for how apparel brands actually run.
Ronnell writes about onboarding, adoption, and operational readiness for apparel brands moving to a connected platform. His articles focus on what it takes to go live with confidence and sustain strong execution across channels, warehouses, and teams. As Head of Customer Success and Onboarding at Uphance, he leads the implementation phases that turn a software signature into running operations. He writes about kickoff scoping, data migration, sandbox cutover, change management patterns, and the stakeholder alignment work that determines whether a connected platform actually changes how a brand runs, or just adds another login to the existing chaos.